
DIY Golf Decor Guide: Creative Golf-Themed Projects

Golf is more than a sport—it’s a lifestyle. Whether you’re a golf devotee eager to transform your space or in search of the perfect gift for the golf lover in your life, our tailored DIY projects provide the ideal solution. Immerse yourself in the joy of hands-on creation, making your golf-inspired decor uniquely stand out with these imaginative and easily executable DIY golf-themed projects.
Featured Golf DIY Projects:
- Golf Ball Ornaments: Decorating with a Golf Twist
- Golf Club Coat Rack: Repurposing Old Clubs for Functionality
- Tee Candle Holders: Stylish Illumination with Golf Tees
- Golf Flag Bunting: Stringing Together a Decorative Golf Theme
- Golf Ball Planters: Mini Green Spaces in Hollowed-Out Balls
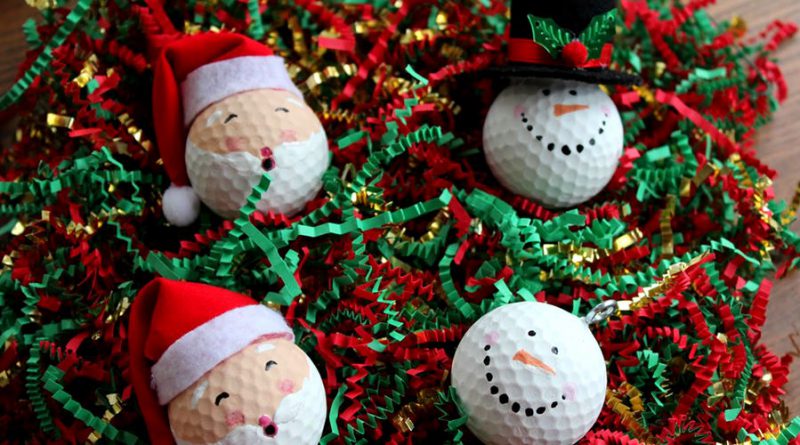
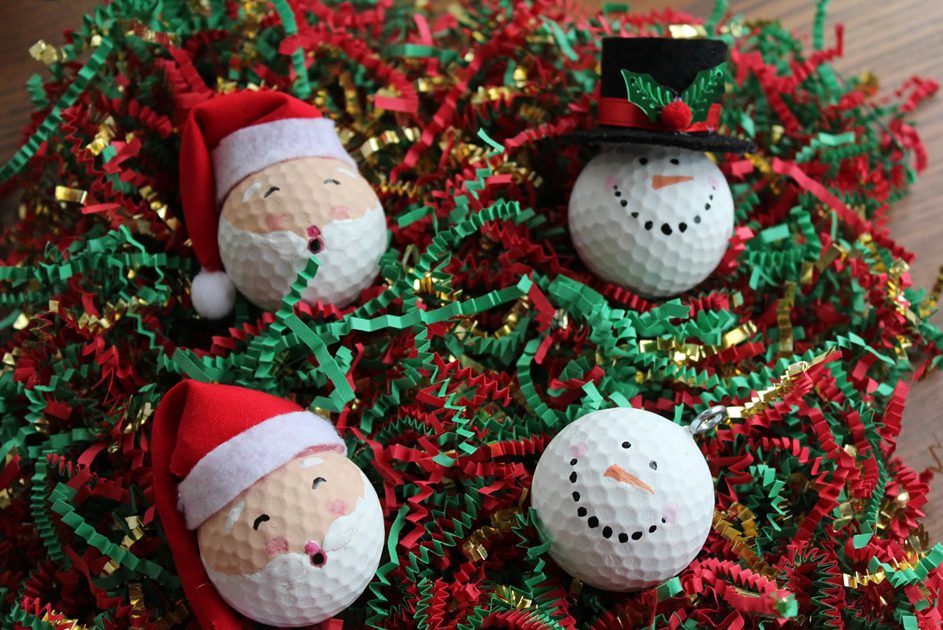
Golf Ball Ornaments: Decorating with a Golf Twist
As the holiday season approaches, why not infuse your festive decor with a touch of your favorite pastime? Golf Ball Ornaments offer a unique and personalized way to celebrate the season with a golf twist.
Materials Needed:
- Golf balls
- Acrylic paint or spray paint
- Ribbon or hooks for hanging
- Clear sealant (optional)
Step-by-Step Instructions:
- Select and Clean Golf Balls: Ensure they are free from dirt and debris.
- Apply Paint: Use acrylic paint or spray paint for a festive touch.
- Add Details: Decorate with golf-related designs or patterns.
- Allow Drying Time: Patience is key; let the paint dry thoroughly.
- Attach Ribbon or Hooks: Make them ready for hanging on the tree or as festive decor.
- Optional Sealant: For added durability, consider sealing the ornaments.
Add a personal touch to your Golf Ball Ornaments with creative variations. Write holiday messages or personalize them with names for a heartfelt touch. When it comes to displaying these charming creations, the options are as diverse as your golfing adventures. Whether adorning your Christmas tree or stringing them together to craft a golf-themed garland, these ornaments will undoubtedly be a unique and cherished addition to any holiday decor.
Recommended:
- Winter Golf Guide: Tips for Playing on Open Courses
- Haunted Golf Courses: Ghost Stories From The Greens
- Best Golf Stocking Stuffers For The 2023 Holiday Season!


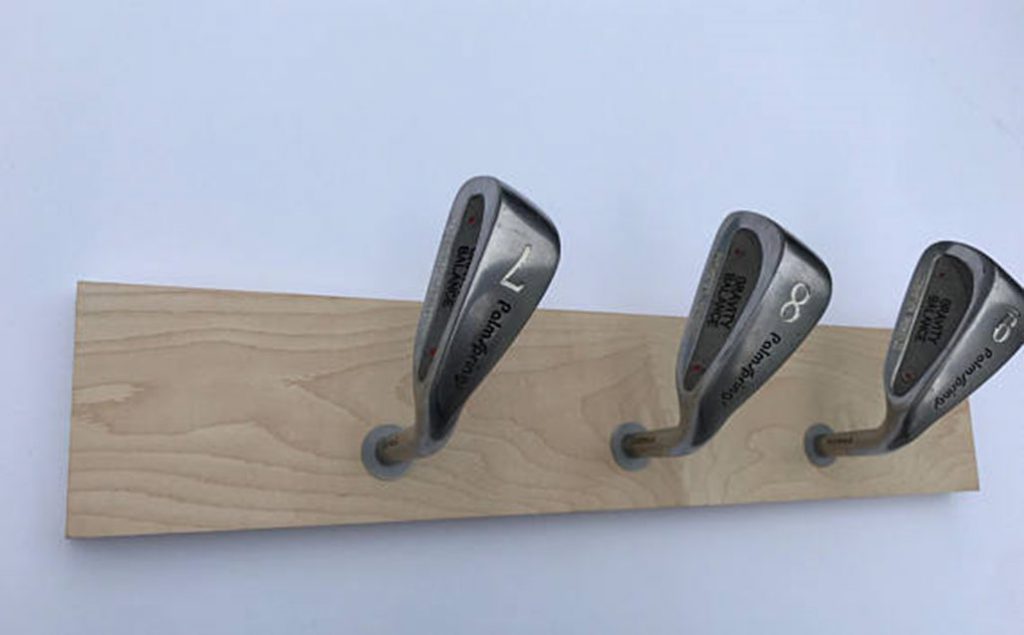
Golf Club Coat Rack: Repurposing Old Clubs for Functionality
Unleash the artistic potential of old golf clubs with our DIY project that seamlessly blends form and function. In this section, we’ll guide you through the steps to create a Golf Club Coat Rack, transforming retired clubs into a stylish and functional piece of decor. It’s an excellent way to pay homage to your passion for golf while adding a unique touch to your home.
Materials Needed:
- Old golf clubs
- Sturdy board
- Screws
- Paint
Step-by-Step Instructions:
- Select and Arrange Clubs: Choose a variety of clubs for visual interest.
- Attach to Sturdy Board: Secure the clubs to a sturdy board using screws.
- Paint for a Personal Touch: Add a splash of color to the clubs for a vibrant look.
- Mount on the Wall: Install the coat rack on the desired wall space.
Extend your creative flair to your repurposed golf clubs with personalized touches. Experiment with a spectrum of colors, painting each club differently for a playful and eye-catching aesthetic. For added functionality, consider attaching extra hooks to the clubs for hats, scarves, or even your favorite golf accessories. This repurposing project not only adds a personalized touch to your space but also breathes new life into retired golf clubs, turning them into a functional and stylish focal point.
Recommended:
- Fairways Festivities: Discovering 5 Holiday-Themed Golf Treasures on Etsy
- 7 Famous Celebrities That Love To Golf – You Won’t Believe Who’s Teeing Off!
- The Golfer’s Winter Training Guide: Improve Your Game Indoors

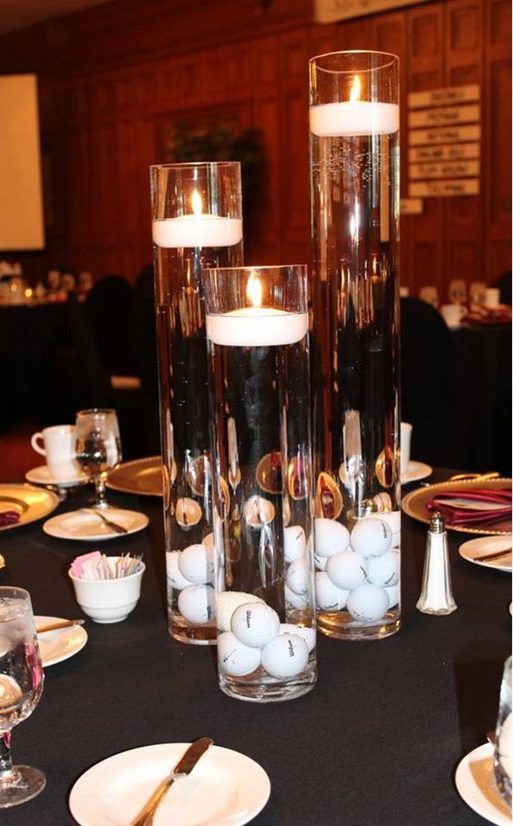
Tee Candle Holders: Stylish Illumination with Golf Tees
How can you elevate your home decor with a touch of golf-inspired ambiance? Dive into our Tee Candle Holders DIY project, where we unveil a creative way to bring warmth and style to your space using golf tees. In this section, discover the fusion of functionality and game aesthetics, allowing you to craft unique candle holders that not only reflect your love for golf but also illuminate your surroundings in a truly stylish manner.
Materials Needed:
- Golf tees
- Candles
- A base
- Glue
Step-by-Step Instructions:
- Prepare the Base: Choose a stable base for your candle holder.
- Secure Golf Tees: Glue golf tees onto the base in a circular or desired pattern.
- Insert Candles: Place candles into the tops of the tees.
Extend the charm by experimenting with various tee sizes to add visual interest and depth to your candle holders. For a vibrant and personalized touch, consider painting the tees in different colors that complement your decor. These variations offer endless possibilities, allowing you to tailor your candle holders to match your unique style and preferences, making them a standout feature in any room.
Recommended:
- How Climate Change is Affecting Golf
- Golf Balls In The Cold And Why Your Golf Balls Behave Differently
- Your Go-To List for Golf Ball Gifts This 2023 Holiday Season
Golf Flag Bunting: Stringing Together a Decorative Golf Theme
Celebrate your passion for golf in a decorative and visually striking way with our Golf Flag Bunting DIY project. This section introduces a creative endeavor that brings the spirit of the golf course into your living space. By repurposing golf flags into a charming bunting, you’ll not only showcase your love for the game but also add an elegant and thematic touch to your surroundings.
Materials Needed:
- Golf flags
- String
- Adhesive
Step-by-Step Instructions:
- Collect Golf Flags: Gather an assortment of golf flags.
- String Them Together: Attach the flags to a string in a pleasing arrangement.
- Hang Decoratively: Drape the golf flag bunting along walls or around a golf-themed event.
Enhance the visual impact by transforming your space! Hang the bunting as a decorative wall feature, infusing any room with a touch of golf elegance. Additionally, use the bunting as a versatile event accent, adding flair to golf-themed parties or gatherings. The adaptability of this DIY creation allows you to personalize your space and events with the unique charm of golf, making every occasion memorable.
Recommended:
- How To Spot A “Good Golfer” According To Reddit
- First Swing: Top Golf Gift Ideas for Beginners
- Fitness Routines to Improve Your Golf Game: Tailored for Women
Golf Ball Planters: Mini Green Spaces in Hollowed-Out Balls
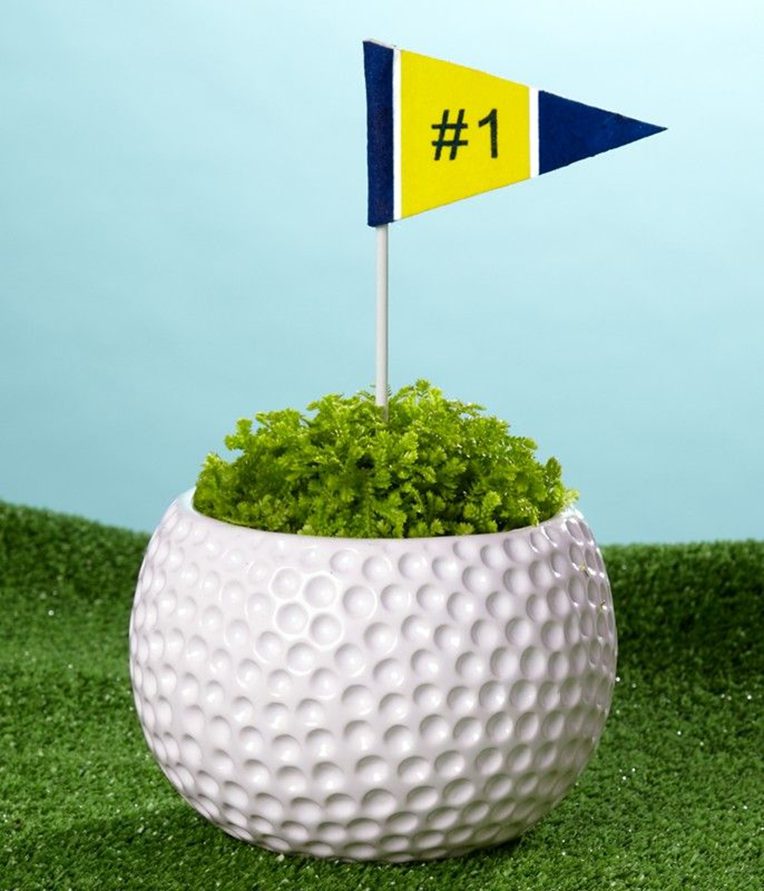
Bring a touch of nature to your love for golf with our Golf Ball Planters DIY project. Explore a creative and innovative way to merge your passion for the game with the beauty of miniature greenery. By transforming hollowed-out golf balls into tiny planters, you’ll not only cultivate a bit of nature indoors but also infuse your space with a unique and charming blend of golf and greenery.
Materials Needed:
- Hollowed-out golf balls
- Small plants
- Soil
Step-by-Step Instructions:
- Hollow Out Golf Balls: Carefully create a hollow space in the golf balls.
- Plant Selection: Choose small plants suitable for the miniature space.
- Add Soil: Fill the hollowed-out golf balls with soil.
- Plant Greenery: Insert the chosen plants into the soil.
Complete your Golf Ball Planters with a thoughtful plant choice. Opt for succulents, perfect for their small size and low maintenance, adding a touch of green to your space without overwhelming it. Alternatively, create a mini herb garden with aromatic plants, infusing your surroundings with delightful scents and culinary possibilities. These suggestions not only enhance the aesthetics of your golf-inspired planters but also make them a delightful addition to any room.
Recommended:
- Autumn’s Embrace: Your Guide to the Season’s Best Golf Getaways
- The Rise of Custom Fitted Women’s Golf Clubs: Is it Worth the Investment?
- Traveling With Your Golf Clubs And Packing Your Golf Bag On Flights
Final Thoughts
As you infuse your golf-themed haven with inspired projects, remember these crucial tips. Prioritize your well-being by maintaining a well-ventilated workspace, especially when working with paints or sealants. Embrace a thrifty approach by exploring thrift stores or repurposing old equipment, injecting new life into your projects without stretching your budget thin. Seek out curated materials at local craft stores or online platforms for an authentic touch that elevates your creations.


Remember, tap into your creative side when making gifts, whether for others or yourself. Let your imagination flow, allowing your love for golf to shine through every carefully crafted detail and transforming your surroundings into a heartfelt tribute to the sport. So, let the fun of crafting golf-inspired decor be as boundless as your love for the game!
Writer/Editor: Danny Kapp is a passionate golf enthusiast and an 8-year veteran golf blog writer for Rock Bottom Golf, offering his unique perspective on the game. With a keen eye for detail, he covers various aspects of golf, ranging from technical insights to the latest trends in golf equipment and golf technology.
Pingback: Beyond the Scorecard: 5 Unusual Golf Courses Around the World - Golf Blog | RockBottomGolf.com
Pingback: Golfing with Technology: AI, App and VR Technology
Pingback: Preparing Your Golf Equipment For Next Season
Pingback: Win! January Hot-Z Golf Bag Giveaway! Enter Today! - Blog | Rock Bottom Golf
Pingback: Finding Your Ideal Fit in Golf Apparel: The Golfer's Guide to Sizing